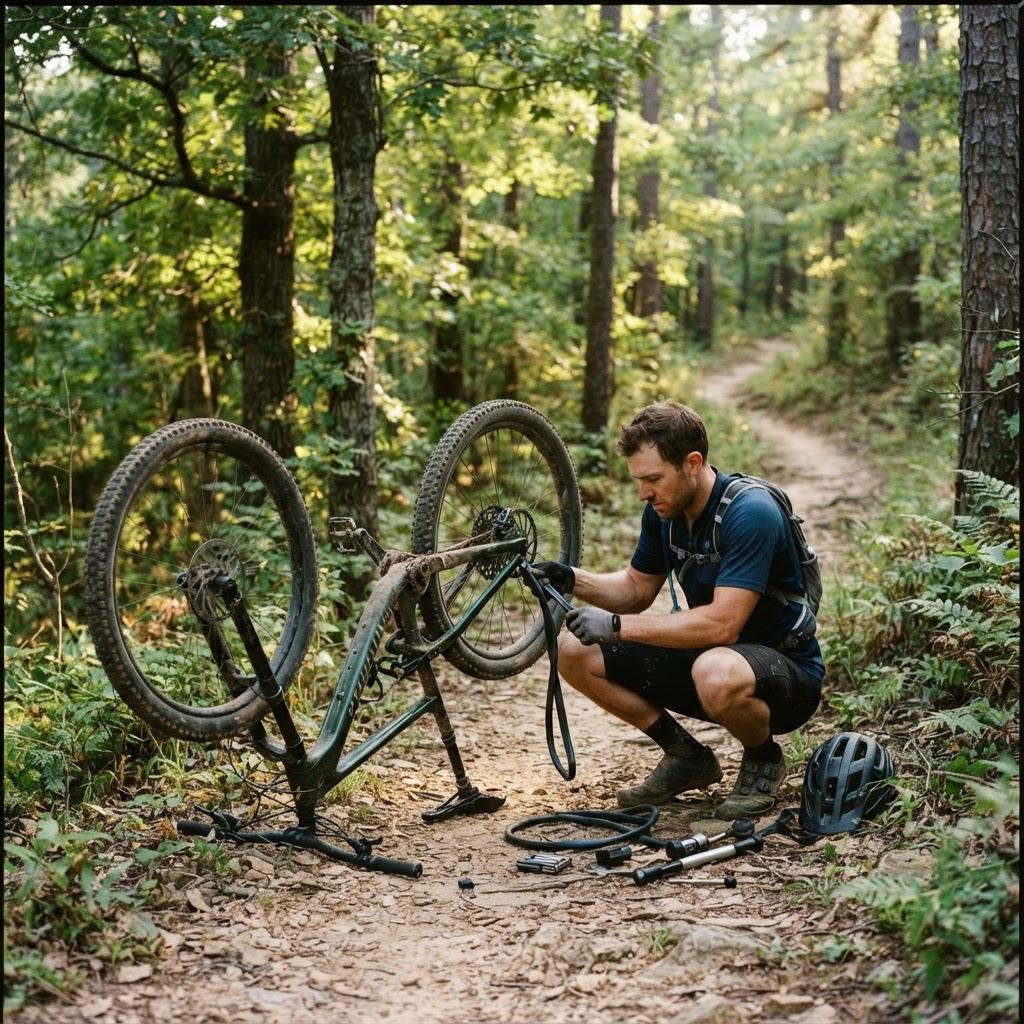
A flat tire is the most common cycling breakdown, and it can happen anywhere — on Tucker Creek Trail, at Bell Slough, or on a rural road in Faulkner County. Knowing how to fix a flat trailside is an essential skill for every cyclist. With a little practice, you can fix a flat in under 10 minutes and get back to riding. Here's our step-by-step guide to trailside flat repair.
What You Need to Carry
Before you can fix a flat, you need the right tools. Every ride should include: a spare tube (correct size for your tire), tire levers (two is best), a mini-pump or CO2 inflator with cartridges, and a patch kit as backup. If you ride tubeless, carry a tube anyway — tubeless systems can fail, and a tube will get you home. Store these in a saddle bag, frame bag, or jersey pocket.
Step 1: Remove the Wheel
If it's a rear wheel, shift to the smallest cog first — this makes removal easier. Release the brake (if you have rim brakes). For quick-release skewers, flip the lever open. For thru-axles, unscrew and remove the axle. Gently remove the wheel from the bike. If you're struggling, don't force it — ask a passing cyclist for help.
Step 2: Remove the Tire and Tube
Deflate the tube completely by pressing the valve. Insert one tire lever under the bead of the tire and lever it over the rim edge. Hook the lever to a spoke. Move a few inches and repeat with the second lever. Work your way around the tire until one side is completely off the rim. Remove the tube.
Important: Before installing the new tube, carefully run your fingers along the inside of the tire to check for the cause of the flat. Look for glass, thorns, or sharp wire. If you don't remove the cause, your new tube will flat immediately. Check the rim strip for damage as well.
Step 3: Install the New Tube
Add a small amount of air to the new tube — just enough to give it shape. This prevents pinching during installation. Insert the valve through the valve hole, then tuck the tube into the tire. Starting at the valve, work the tire bead back onto the rim by hand. The last few inches are the hardest — use your thumbs to roll the bead over. If you need to use a tire lever for the last bit, be careful not to pinch the tube.
Step 4: Inflate and Check
Inflate the tube partially and check that the tire bead is seated evenly all the way around. Look for bulges or areas where the tube might be pinched under the bead. Once everything looks good, inflate to your recommended pressure. For mountain bikes on Conway trails, 25-35 psi (tubeless) or 35-45 psi (with tubes) is typical. Reinstall the wheel, reattach the brake, and you're ready to ride.
Practice Before You Need It
The worst time to learn flat repair is on the trail. Practice at home — remove and reinstall your tube in your garage. Time yourself. Once you can do it in under 10 minutes, you're ready for the trail. Local shops like Spokes and Trails & Treads offer basic maintenance classes — take one and build your confidence.
A flat tire doesn't have to end your ride. With the right tools and a little practice, you'll be back on the trail in minutes. Carry your kit, know your stuff, and ride with confidence.
Comments (0)
Log in to join the discussion
No comments yet. Be the first to share your thoughts!